Before: Still living out of boxes...can't find anything. Where are those peaches? Not sure. Open 10 boxes, find a jar of peaches. Where do I put the empty? Just throw it in a box for later. Hope it doesn't break.
The first thing we did was remove the solitary light bulb that was in the room and put up two fluorescent fixtures. One went in the back of the room and one in the front. We cleared out all the boxes so we could get to work. We had to go buy a miter saw. Oh, darn it. (Read with sarcasm.)
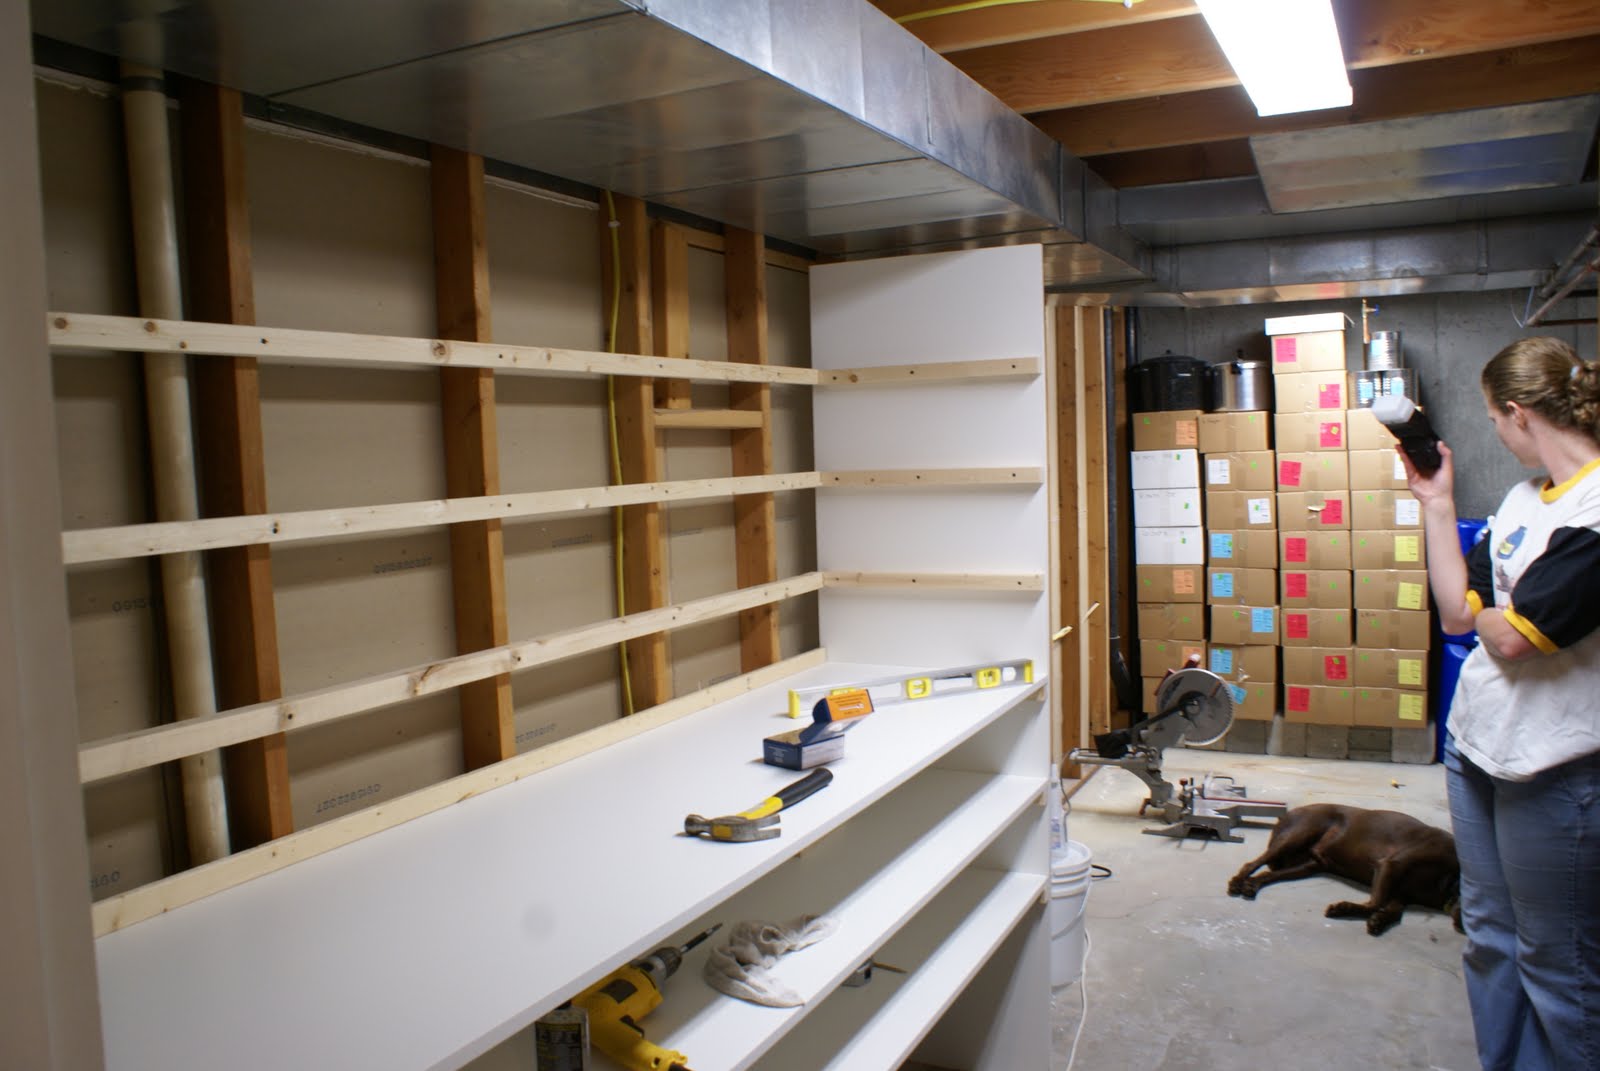
We put up shelf supports and made them level.
Then we put down the shelving material. I love this stuff. It is melamine coated so the things you put on the shelf just glide on it. It is more expensive, but I think is worth the money. We put a 1x2 board across the back and side against the wall studs so that nothing could fall back behind the shelf.
Of course, Eddie had to be right in the middle of everything. He is afraid of loud noises, but he still hung around with the saw and the compressor going off. He stayed in there the whole time.
After getting all the shelves in place, we put up supports in the middle so the shelves wouldn't sag. They are really good and sturdy now.
For a finishing touch, we painted the supports white to match the shelves. There is 8 feet of shelving spaced close together for mason jars. Then there are 3 more shelves 8 feet long on the end for other stuff.
After: Look! There are the peaches! Go ahead and put the empty jar back on the shelf.
Next project: Fill more jars to put on the shelf.


love!
ReplyDeleteYay! Congratulations. They look awesome!! Want to come build some in my closet for all my craft stuff?
ReplyDeleteJulie,
ReplyDeleteSure! Sign us up. It'll be fun!